
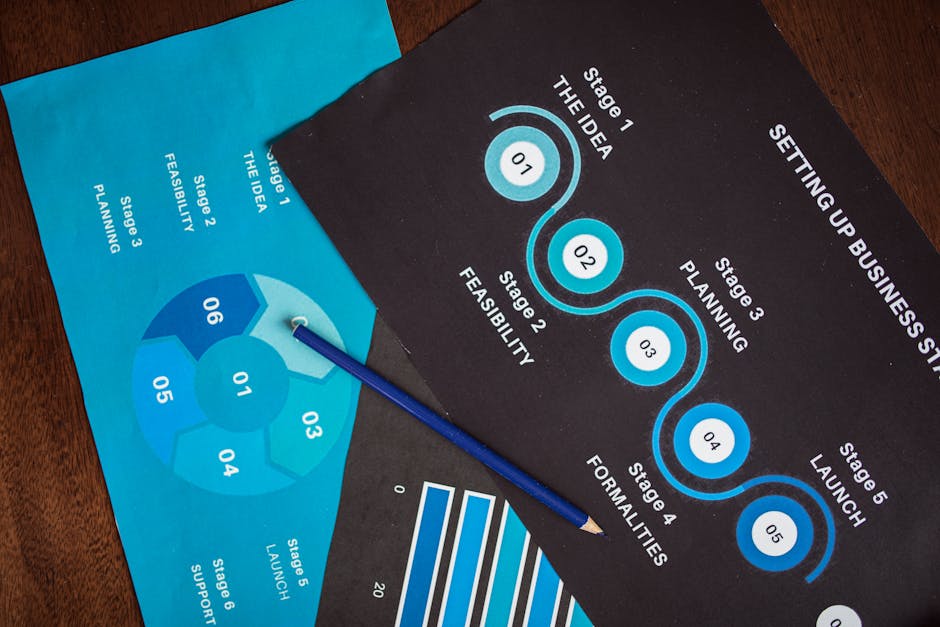
How to Map Out a Workflow Before You Build It
I stared at my screen for three hours last Tuesday. Not working. Not building. Just staring at a blank canvas in my workflow builder, cursor blinking, mocking me. I had this grand vision of automating my entire content distribution process, but every time I tried to start building, I froze. Where do I even begin?
That frustration led me to a realization that changed everything about how I approach automation. The problem wasn’t the tool. It wasn’t my technical skills. It was that I’d skipped the most crucial step: mapping out the workflow before touching any software.
The Real Problem With Jumping Straight Into Building
Here’s what I used to do. I’d get excited about automating something, open up a workflow builder, and start dragging boxes around. An hour later, I’d have a tangled mess of triggers and actions that sort of worked but not really. Then I’d scrap it and start over. And over. And over again.
Sound familiar?
The issue is that building a workflow requires linear thinking, but our brains don’t naturally work that way when we’re excited about possibilities. We think of the end result, then jump to a cool feature we want, then remember an edge case, then circle back to the beginning. It’s chaos disguised as creativity.
What I discovered is that the people who build clean, efficient automations treat mapping like a separate discipline. They don’t mix planning with building. Ever.
The Discovery That Changed My Approach
I was complaining about my workflow struggles to a friend who manages operations for a mid-sized company. She laughed and said something I’ll never forget: “You wouldn’t build a house by randomly nailing boards together. Why would you build an automation that way?”
She showed me her process. Before any workflow gets built in her organization, it exists on paper first. Not fancy software. Paper. Or a simple document. The tool doesn’t matter. What matters is forcing yourself to think through every single step before you commit to building it.
The Step-by-Step Process I Now Follow
Let me walk you through exactly how I map workflows now. This process has saved me countless hours of rebuilding and troubleshooting.
Step one: Define the trigger clearly. What specific event starts this workflow? Not vaguely, but precisely. For my content distribution workflow, it wasn’t just “when I publish content.” It was “when a new blog post is marked as published in my content management system.” That specificity matters when you actually build.
Step two: List every action in plain language. I write out each step as if I’m explaining it to someone who’s never used a computer. “Send the blog title and link to my email platform.” “Post the first 100 characters plus the link to my social scheduling tool.” “Add a row to my tracking spreadsheet.” Simple, clear, no technical jargon.
Step three: Identify the data that moves between steps. This is where most workflows break. You need to know what information travels from one action to the next. The blog title, the URL, the publish date, the category. I literally list these out because if one piece is missing, the whole thing falls apart.
Step four: Map the conditional logic. Not every workflow is linear. Sometimes you need branches. If the post is in category A, do this. If it’s in category B, do that. I draw these out as simple yes/no questions with arrows pointing to different paths.
Step five: Walk through it manually first. Before I build anything, I literally perform each step by hand one time. This reveals gaps in my thinking every single time. Oh wait, I forgot that my email platform needs the content in a specific format. Back to the map to add that transformation step.
What Changed After Implementing This Process
The difference has been dramatic. That content distribution workflow I mentioned? After mapping it properly, I built it in about forty minutes. It worked on the first test. No debugging. No starting over. No frustration.
But the bigger change is mental. I no longer dread building automations. The mapping process removes the overwhelm because by the time I open my workflow builder, I know exactly what I’m creating. I’m just translating my map into the tool’s language.
I’ve also started keeping a library of my workflow maps. When I need to modify something six months later, I don’t have to reverse-engineer what I built. I just look at the map, update it, then update the actual workflow.
Key Takeaways
Mapping isn’t optional if you want clean, maintainable workflows. It’s the foundation everything else rests on. Separate your planning time from your building time completely. Use plain language, not technical terms, when documenting steps. Always walk through the workflow manually before automating it. Keep your maps somewhere accessible for future reference.
Start your next automation project with a blank document, not a blank canvas in your workflow tool. Your future self will thank you.
This article is for educational purposes only. Results vary based on individual effort and circumstances.
Want to learn the exact tools and systems I use? Get the free resource guide at snapsidehustles.com